
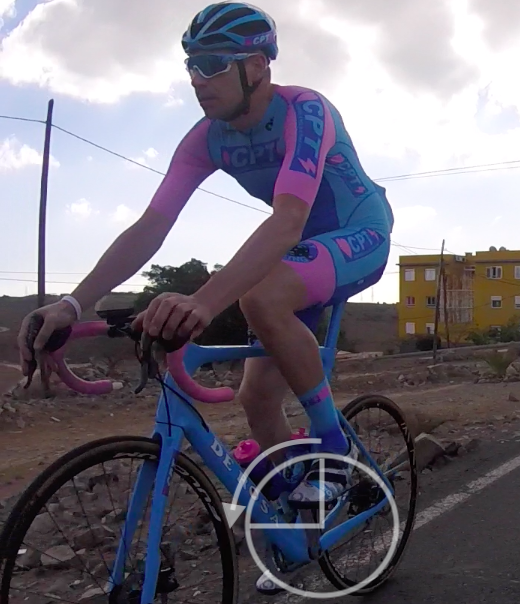
Why you should get a Bike Fit
Tracking your position will tell you more about where to improve it
April 22nd 2013, By Richard Rollinson
Getting a bike fit is the only way to have a truly personal bike position for the most efficient and injury free ride possible. See what methods are used in achieving this.
Trouble shooting
A musculoskeletal assessment is carried out prior to the rider sitting on the bike to look for unique physiological imbalances in the rider. If there have been any problems of the rider not being sat comfortably on the bike such questions may be asked; where do you feel aches and pains while riding? Do you get pins and needles in your hands?
The answers to these questions can be checked to get to the bottom of a problem by; measuring leg lengths for imbalances, measuring each muscle group to check for imbalances (each person in predominantly stronger in the one leg), measurement of inseam, no shoes.
Fitting the bike to the rider, not the rider to the bike
With the understanding of how the individual needs to be sat on the bike, the fit can now begin to match the bike to the rider to make each as unique as each other to act like an extension of the body.
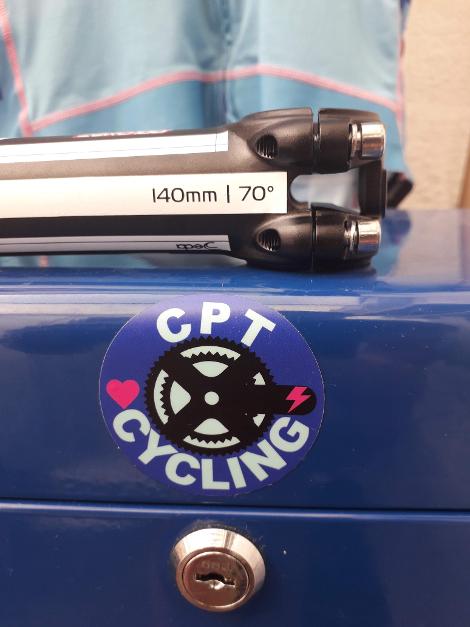
Stem length plays an important role in the position of the riders’ reach from saddle to bars. The result of correct stem length comes mainly from the length of the top tube of the frame and the riders’ arm and torso length
A longer stem gives better control and stability on a road bike at speed
Likewise, a shorter stem on a mountain bike will give better handling in tighter corners. The height of the front end also needs to be considered in this. A lower position can be highly effective to performance, as greater power transfer can be achieved through a more forward position and aerodynamics can be improved through a less upright position.
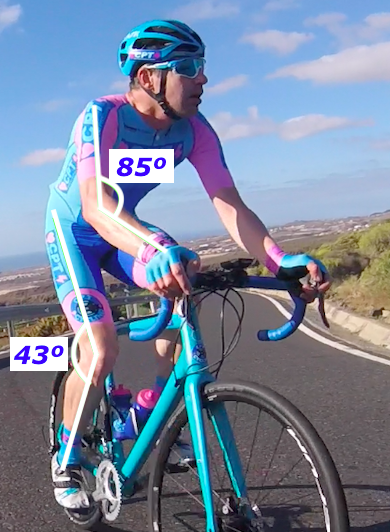
When lowering front end height, this should be done gradually over time as flexibility to the new position adapts. Alternatively, if you are looking more at comfort from a tailored bike fit for reasons such as the type of riding you do or if have a back injury, then a higher front end will suit you better. The saddle position is adjusted forward or backward according to these factors and the result is a 95 degree bend in the shoulders and a 15 degree bend in the elbow. The benefits of this include:
- Greater control over bike handling.
- More comfort and reduced chance of repetitive strain injury in the back.
- The ability to smooth out rough roads and obstacles enabling you to carry speed
- Increased aerodynamics.
- No more pins and needles from incorrect bar reach.
This all comes down to the individual riders’ body measurements and range of flexibility. Saddle height is crucial in having your bike correctly set up. Get it wrong and you could end up with serious knee problems through either over stretching and pulling the joint (saddle too high) and lengthening ligaments, which cannot be reversed. Too lower saddle height will result in push on the joint and cause undue stress in the knee and can result in other mechanical damage in the muscles and nerves that could so easily be avoided.
Enabling increased pedalling economy
This also has a big influence on performance in the form of efficiency. Set up correctly, you should have a 25-30 degree bend in your knee at the bottom of the pedal stroke when riding normally. This will enable you to carry out an efficient pedalling technique of keeping a flat foot from the top to the bottom of the stroke and backward thrust out of this, continuing with the correct amount of pull up before the circle is completed. Note that the bike fit only enables this action and the technique must be learned or coached.
Note that when a bike fit is carried out, it is done so with the shoes you regularly ride in. A measurement is taken for your reference from the bottom bracket to the top of the saddle when the correct saddle height is achieved. When you buy new shoes or pedals, go back to this measurement as it is a constant, unlike the stack height or various shoes and pedals.
Tracking pedalling economy from data collected out on the road can help to refine your position further.
Cleat position set up
There are a number of checks needed to be made to shoe cleat position to ensure pedalling efficiency and reduce repetitive strain knee injury. For the text book fit; rider’s cleats should be parallel to the cranks and the ball of the foot, directly over the axle.
However there are many individual physiological differences that need to be accommodated for. Take a walk for a few steps and look down at your feet. You will notice that they may not be completely in line. This is the natural alignment of your feet and should be set up the same way when you are on the pedals. If your left foot points slightly outward, then the cleat angle needs to be set up like this, otherwise your knee will twist with every stroke, both high inefficient and harmful to your joints.
With the correct fit of the cleats and the saddle position, then the optimum position is achieved for the ball of the foot to sit directly over the pedal axle, to give the best possible use of the power being transferred. Variations in leg length differences must also be considered.
Front end set up
Handlebar position adjustment is a personal and often overlooked area of a bike fit that can make a huge difference to handling and comfort.
Firstly, there are many different bars out there of various widths, shapes and drop lengths. Width is a fairly easy one to get right; measure your shoulder width from centre to centre of the joints – presto; this is the width road bars you should be buying.
A proper fit for you bar and lever position is not just a case of tilting your bars up and down inside your stem clamp. To get the best out of both lever and bars, they need to be adjusted independently of each other and consideration is made toward the issues discussed with stem length, length of fingers, preference for a shallow or deep drop length, bar positions most frequently used and how and what the bars are used for.
MTB Bike fit differences
The type of set up is dependent on the mountain bike discipline the bike is being used for, however, brief differences of a cross country set up to a road bike are; a shorter stem (to enable a greater elbow bend to absorb rougher terrain and cornering ability) and a saddle height of around 1-2 cm lower (for greater control of weight distribution when negotiating technical descents)
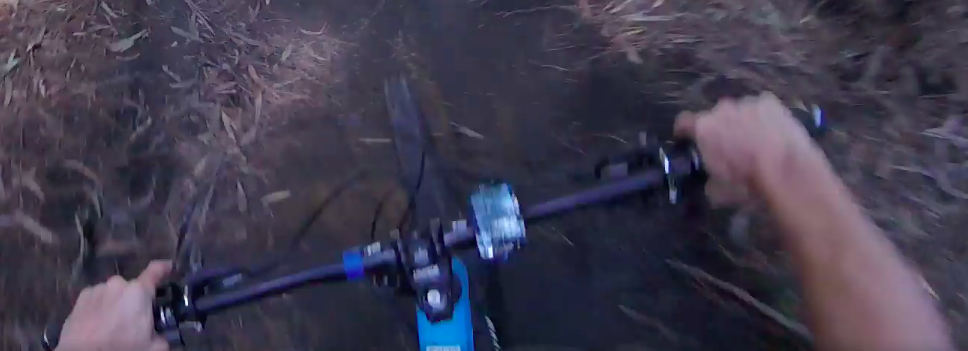
A shorter stem is more stable with wider bars
Time trial bike differences
The technical regulations into setup are stringent so do your research on the requirements. With the correct fit, you need to achieve an elbow bend of 90 degrees when positioned in the aero bars and the saddle needs to be further forward than a road bike for greater power transfer and aerodynamics.
Differences in junior riders
While if you are a fully grown adult, you can happily walk out of the bike fit studio knowing that you have the correct position, this is not the case for juniors. Once a fit is correctly carried out, the needs of the rider change as they grow, so if there is a further few inches of growth in the height of the rider since their last bike fit, then the bike will now be fitted for a shorter rider and will need a re fit to the new body size. Re fits are recommended every month for junior riders; however this does depend on personal growth rate.
Case by case; bike fitting is just as individual as training as we all have our own unique physiology. Keeping your unique characteristics in mind will help achieve the best fit for you.
Related Blogs
Improve Your Pedalling Efficiency Part 2: Exercise And Bike Fit Solutions To Imbalances

What is CPT Cycling?
Custom training plans with a 360º approach to your unique physiology and goals with actionable feedback to help you become a faster cyclist, explained simply with a personal touch from an expert cycling coach.